Load C650 Reflective Sheets
This knowledge base article shows you how to correctly load C650 Reflective sheets when printing number plates. We even show the positioning you should use for sheets with pre-printed side badges. All instructions given below assume you are directly facing the front of the machine.
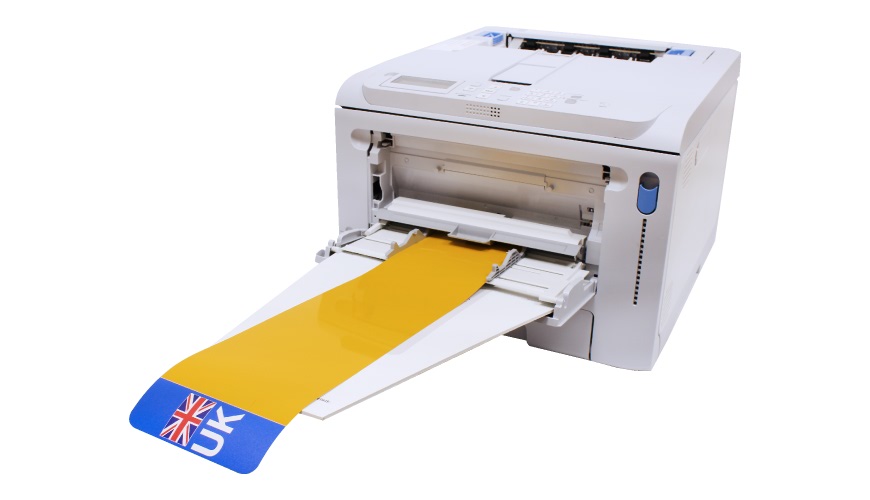
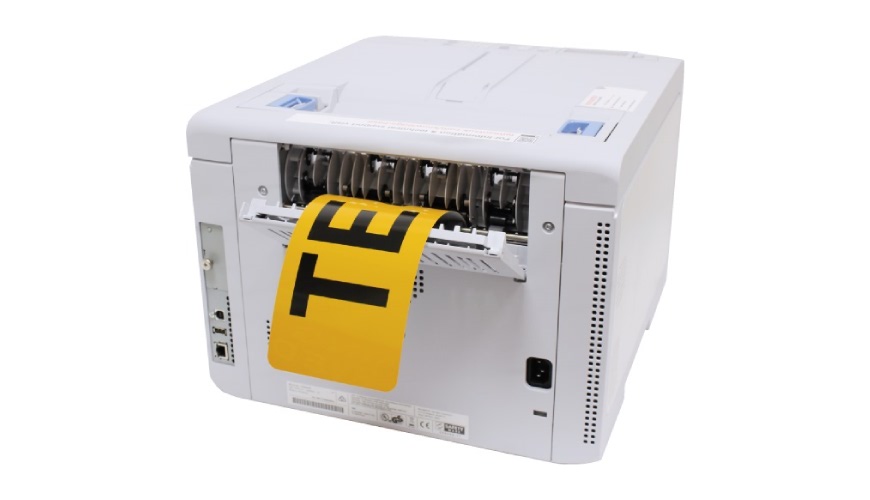
Always stack your sheets together, so all the edges align and then butt them right up against the printer. Sheets are always oriented with the shortest sides nearest the machine, with the longer lengths leading away. Number plates are always made using the front multipurpose tray, with printed sheets emerging from the rear output.
Oblong Reflective
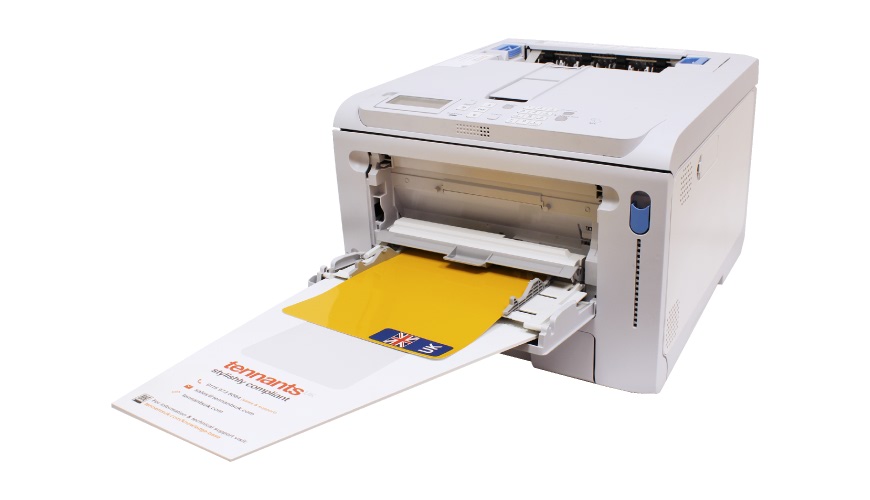
We recommend you always use our feeder tray with your OKI C650 printer and plate components. Simply load your single or stack of reflective onto the tray, with the guides helping to hold them. Don’t forget the short side needs to be towards the printer, reflective facing upwards.
Pre-Printed Badges & Logo’s
As you can see on the image above, sheets with a Pre-Printed Badge should be placed so the badge is furthest away from the printer. You should also do this for media printed with the Electric Vehicle green flash. Any sheets with a Printed Bottom Line should be oriented to the right as you face the front of the printer. Since printed reflective exits using the rear output tray, ensure it’s open with enough room for access.
Non-Oblong Sizes
Load any other sizes as you would normal oblong sheets, ensuring the shortest side goes closest to the printer. Pre-printed media should be oriented as shown in the section above. Which means badges furthest from the printer and bottom lines on the right-hand side.
Need Help or Plate Media?
For more detailed instructions, try your printers user guide. Or if you need further assistance contact our customer service team for help. To restock your Reflective Sheets or Clear Acrylic, you can buy matched plate media from our number plate shop. But don’t forget a current trade and shop account is required for online purchases.


