C650 Printer Errors
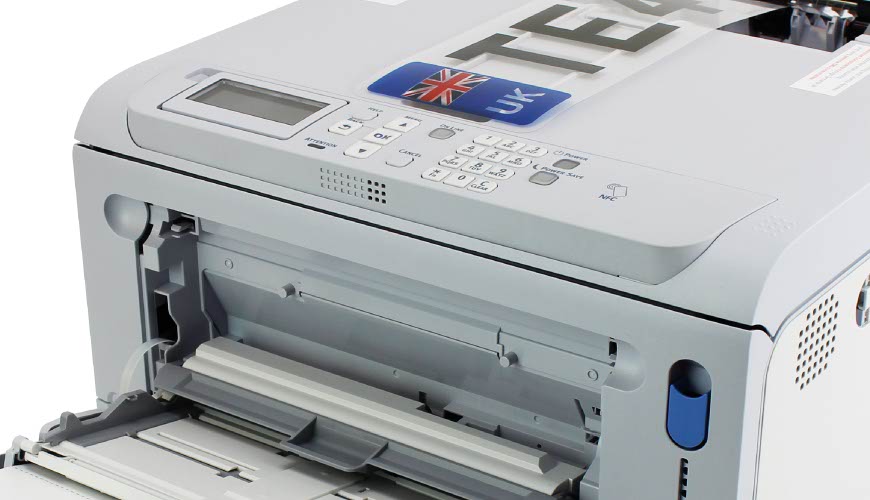
This knowledge base article shows you the common C650 Printer Errors encountered when using it to produce number plates. When your printer detects a problem, its attention LED on the operator panel will light up. And the display screen will indicate the type of fault or show you an error code. Below you will find common error codes and their solution.
Paper mentioned throughout this article refers to any type of compatible media. If you have any other error please check your guide before getting in touch.
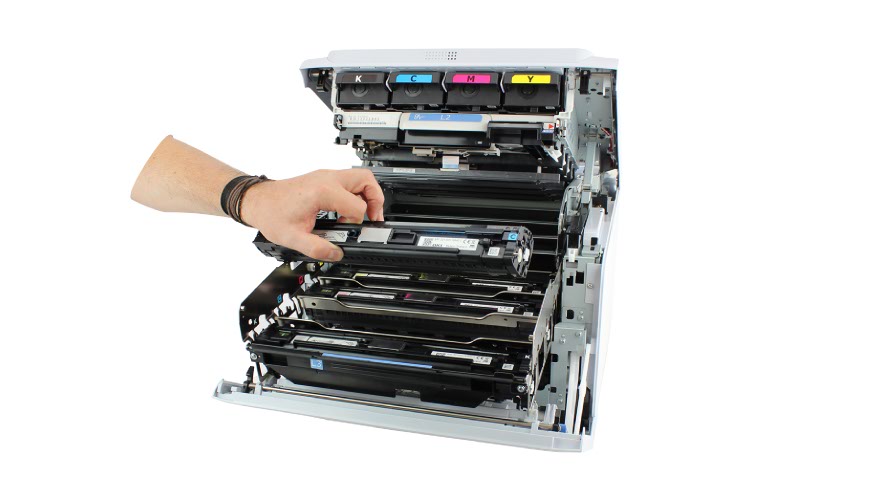
C: Cyan (blue), M: Magenta (red), Y: Yellow, K: Black.
Toner Errors or Waste Toner Errors
| Error | Code | Description |
|---|---|---|
| [COLOUR] Toner Empty. Toner Cartridge Not Installed Correctly. | 410, 411, 412, 413, 428, 335 | [COLOUR] Toner Empty - replace indicated toner cartridge and then press [OK]. Toner Cartridge Not Installed Correctly - check seating of all cartridges and then press [OK]. |
| Waste Toner Full. Waste Toner Transfer Error. Waste Toner Box Not Installed Correctly. | 357, 359, 418, 331 | Waste Toner Full - replace and press [OK]. Waste Toner Transfer Error - please reseat waste toner box and press [OK]. Waste Toner Box Not Installed Correctly - please reseat and close cover then press [OK]. |
| Caution: Non-Genuine Consumable Detected. | 709 | We do not approve the use of non-genuine consumables for making number plates. OKI indicate you can use any consumable / maintenance parts you want but do not recommend it. To continue with non-genuine consumables follow the indicated procedure, which is recorded by the printer. |
When the printer detects an empty toner cartridge, it will say on its display screen which colour needs replacing. And it will indicate when the waste toner box is full and needs changing. Changing a cartridge is a easy end-user task, if you need help take a look at this article on how to replace a C650 Toner Cartridge. Or alternately, here’s an article on changing your Waste Toner Box.
Image Drum Errors
| Error | Code | Description |
|---|---|---|
| [COLOR] Image Drum Life - [PAGES] Pages Left | 564, 565, 566, 567 | The image drum indicated has or will soon reach its end of life. Replace the image drum or press [OK] to continue. |
| [COLOUR] Image Drum End of Life - Replace. | 350, 351, 352, 353 | The image drum indicated has reached its end of life. Replace the image drum and then press [OK]. Opening and closing the front cover can resume printing for a while. |
| Printing Stopped Because [COLOUR] Image Drum End of Life. | 680, 681, 682, 683 | The image drum indicated has reached its end of life. Replace the image drum and then press [OK]. |
| [COLOUR] Image Drum End of Life - Replace. | 560, 561, 562, 563 | The image drum indicated has reached its end of life. Replace the image drum and then press [OK]. |
| [COLOUR] Image Drum Is Not Installed Correctly. Sensor Error: Check and Reset [COLOUR] Image Drum. | 340, 341, 342, 343, 540, 541, 542, 543 | [COLOUR] Image Drum Is Not Installed Correctly - Reseat or install the image drum and then press [OK]. Image Drum Sensor Error - A sensor error has occurred to the drum indicated on screen. Reseat or install the image drum and then press [OK]. |
On detecting an issue with an Image Drum your printers screen states which one needs attention. It may even cease the current print job due to the error. At least changing or reseating a drum is a simple end-user task.
If you need help with a drum, take a look at this article on how to Replace a C650 Drum. For drum sensor errors, take the indicated drum out of your printer and reinstall it. Or if it indicates a drum isn’t fitted correctly, try reseating it.
Paper or Media Errors
| Error | Code | Description |
|---|---|---|
| Install Paper/ Media In MPTray. | Number Plates are printed on media fed via the multipurpose tray. Load your components on the feeder tray and check the paper placement cover is lowered. | |
| Paper Size Error - Reset Paper in [TRAY] | 400 | A paper size error has occurred in the indicated tray. Reload paper/media correctly and then press [OK]. Remove any jammed paper/media and reset. |
| Data [MEDIA SIZE / MEDIA TYPE] Doesn't Match Paper in [TRAY] | 460, 461, 462, 463, 464 | The size and type of paper loaded do not match those indicated on the screen. Reload paper/media correctly and then press [OK]. Multiple sheets may need loading to trigger the sensor. |
| No Paper In [TRAY] Set [MEDI SIZE] | 490, 491, 492, 493, 494 | There is no paper detected in the indicated tray. Reload paper/media correctly and then press [OK]. Multiple sheets may need loading to trigger the sensor. |
| No Cassette In [TRAY] | 440, 441, 430, 431, 432 | Printing has stopped because the cassette in nor properly installed. Reload your paper and reinstall the cassette, then press [OK]. |
The OKI C650 will inform you when it encounters any media related problems. Most errors will be about empty trays or incorrect paper size. You can fix those issues by reloading your plate media on the multipurpose tray. Or refilling the paper tray correctly.
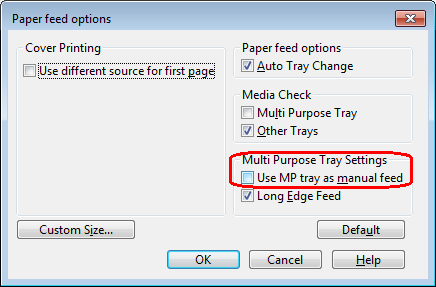
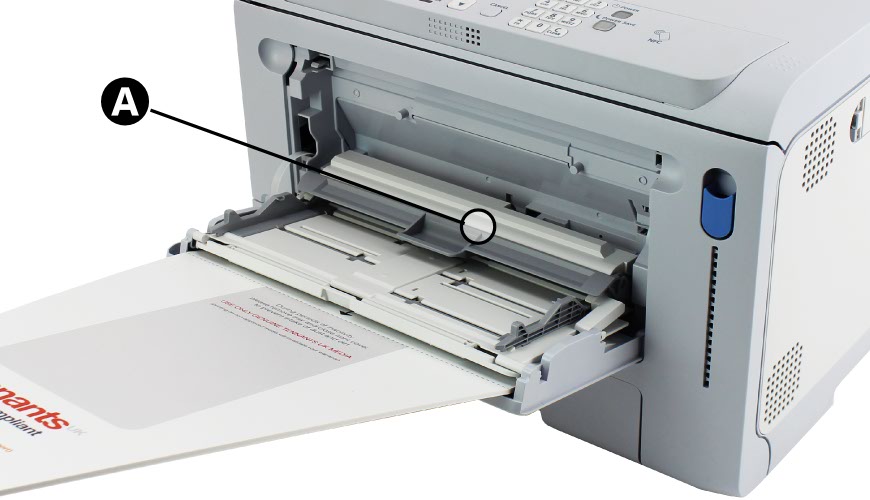
When printing number plates, make sure your printer preferences are set to use the multipurpose tray, just like the image above. And if printing doesn’t start and you get error code 490, check the paper placement cover (A) is lowered – as shown the image below. Load a stack of plate media instead of few sheets, to ensure it triggers the sensor.
Paper or Media Jams
| Error | Code | Description |
|---|---|---|
| Paper Jam - Output Tray | 370, 371, 372 | A paper jam has occurred inside the printer. Locations: Output Tray Exit & Entrance, Fuser and Transfer Belt. |
| Paper Jam - Output Tray. | 380, 382, 385 | A paper jam has occurred inside the printer. Locations: Output Tray, Fuser and Transfer Belt. |
| Paper Jam - Cassette | 391, 392, 393 | A paper jam has occurred in the paper cassette. Pull out cassette, reload paper and reinsert cassette. Check paper path and remove jam from belt and fuser units. |
| Paper Jam - Multipurpose Tray. | 390 | A paper jam has occurred via the feed path from the Multipurpose Tray. If visible pull paper out gently. Otherwise open front cover & output tray and remove the jam. |
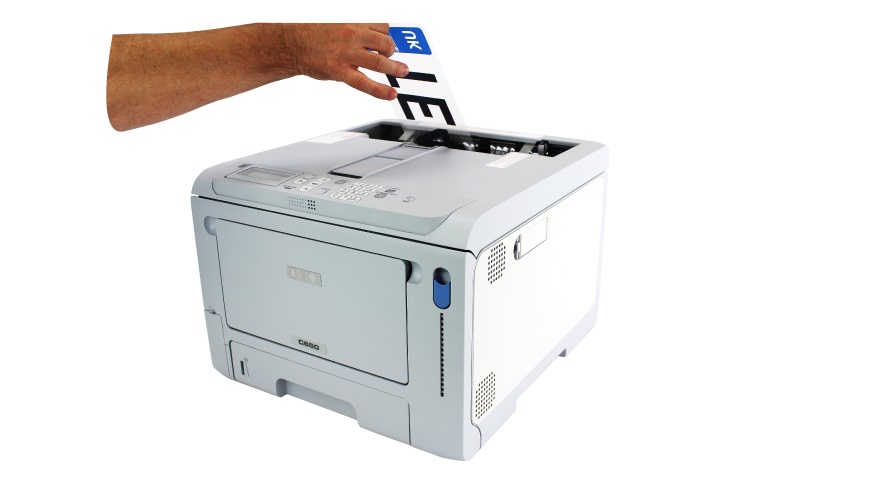
For a top or rear output tray jam, simply pull any stuck plate media towards you gently, as shown in the image below. If needed, lift up the output tray and then pull the media free. To help you solve fuser and transfer belt jams, take a look at our C650 articles on replacing the Fuser or Transfer Belt.
Need Help?
For more detailed instructions, try your printers onscreen help or our Trade Systems user guide. Or for further assistance with your C650 printer errors contact our customer service team for help.

