C650 Media Jams
This article shows you how to clear your C650 media jams with simple to follow instructions. When it detects a jam, your printers display screen will display a error message indicating what type of jam you have and where. While your printer will refer to a paper jam, it’s a generic term that covers our plate media too.
Before you start trouble shooting jams, give your printer time to cool down and take care handling its parts. Instructions that follow assume you are directly facing the front of the machine.
Clear Fuser Jams
Most Fuser jams are easily cleaned
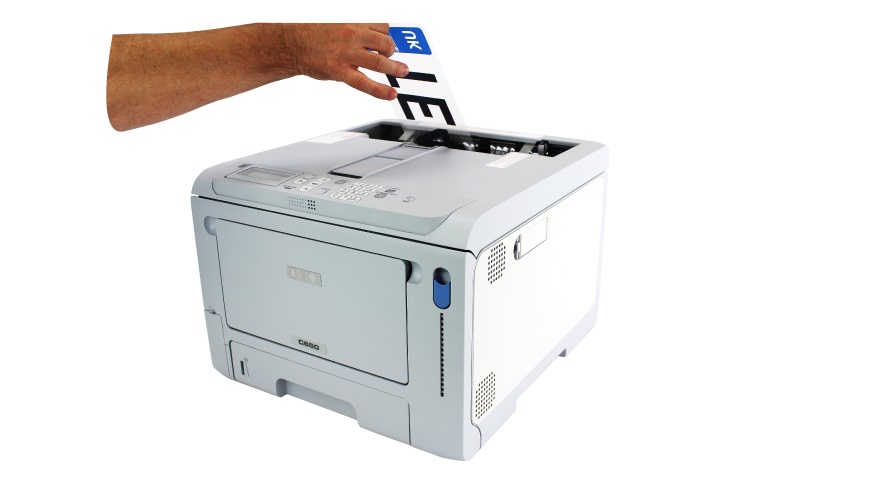
Clear an Output Jam
Most fuser jams result in your plate media not clearing the top or rear output tray’s properly. If you’re lucky, all you need to do is pull it towards you and out of the tray like the image above. Although on occasion you may have to lift up the output tray, before a jam will pull clear.
Unlock the blue levers before pulling the fuser up
Pull stuck media out through the front of the Fuser
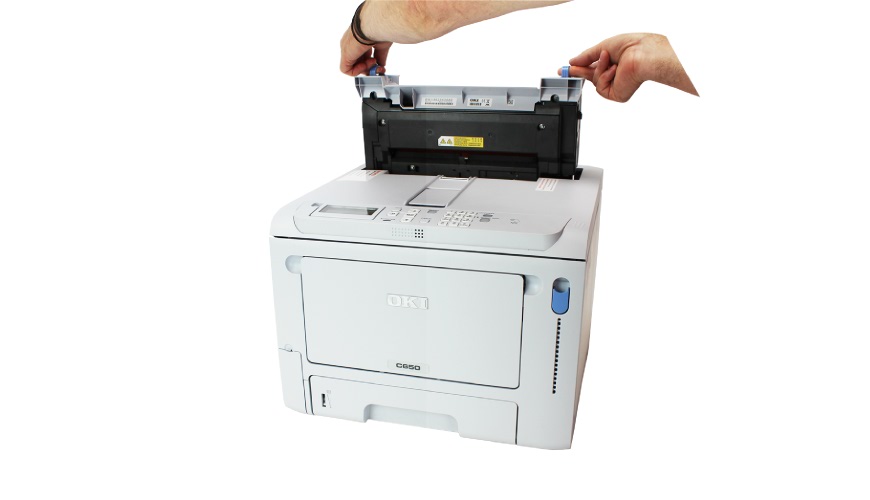
Removing the Fuser Unit
For more stubborn fuser jams, you will have to remove the unit from the printer completely. To remove the fuser, start by unlocking the two blue levers locking it in place. Simply pull them both straight up, until they click. Now keep holding the levers, and lift the fuser out of the printer. Take care not to touch its rollers and place it on a clean surface.
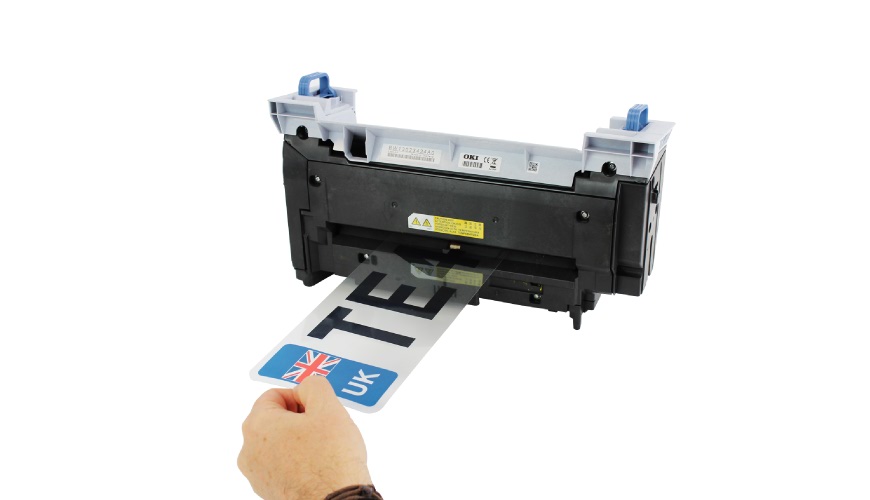
Clear a Fuser Jam
To remove the stuck media, first position the fuser so the side with the label is facing you. And then gently pull the sheet out through the front of the unit. Do not pull it out the in the reverse direction. In severe cases, plate components can become fused to the rollers. As a result the fuser unit itself may need replacing and your settings checked.
Clear Transfer Belt Jams
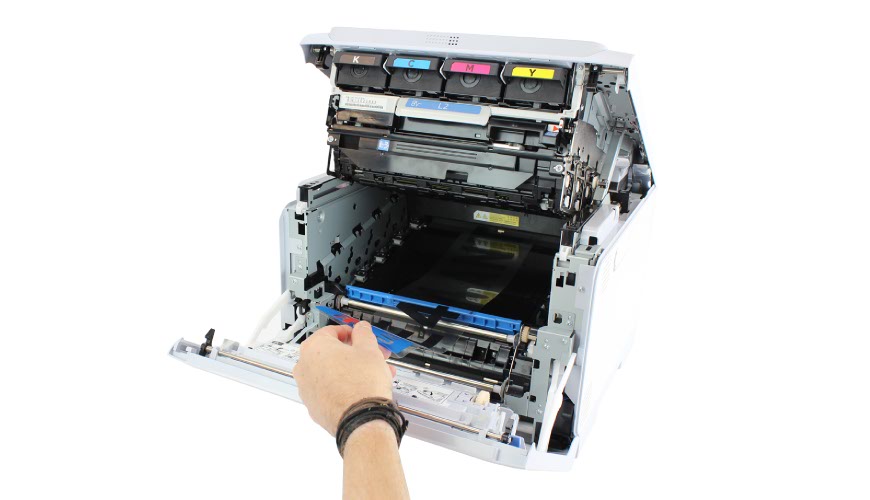
Find the Transfer Belt at the bottom of your C650 printer
Just like a fuser jam, a standard belt jam can be cleared by simply pulling your plate media gently towards you. To access the transfer belt, you’ll need to open your printers front cover. And then lift up its output tray using the L2 Lever. The transfer belt sits at the bottom of the printer, where it’s fed by the multi-purpose tray.
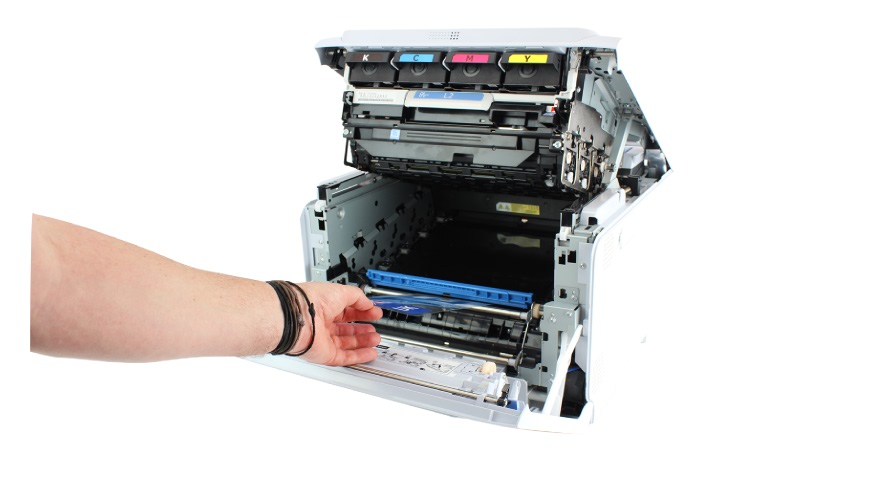
If needed, lift the belt before pulling jammed media clear
Now and again you may have to clear a jam from under the transfer belt. Then you will need to lift it up by holding the blue handle on its front. Avoid touching the transfer belt surface, and gently pull clear any media. Once again any fused sheet may damage your printers transfer belt and require replacing.
Note: Fused sheets usually occur when non-approved components are unable to withstand our heat settings. Your printer has settings for our plate media only, so using other brands may damage your printer.
Need Help?
You can buy a replacement C650 Fuser and Transfer Belt from our NP-Shop. They are guaranteed to fit your OKI C650 printer and are approved for making Tennants number plates. A trade and shop account is required however for online purchases.
For more detailed instructions, try your printers onscreen help. Or take a look or your number plate systems user guide.