B432 Media Jams
This article shows you how to clear your B432 Media jams with simple to follow instructions. When it detects a jam, the printers LCD display screen will display a error message indicating what type of jam you have and where. While your printer will refer to a paper jam, it’s a generic term that covers our number plate media too.
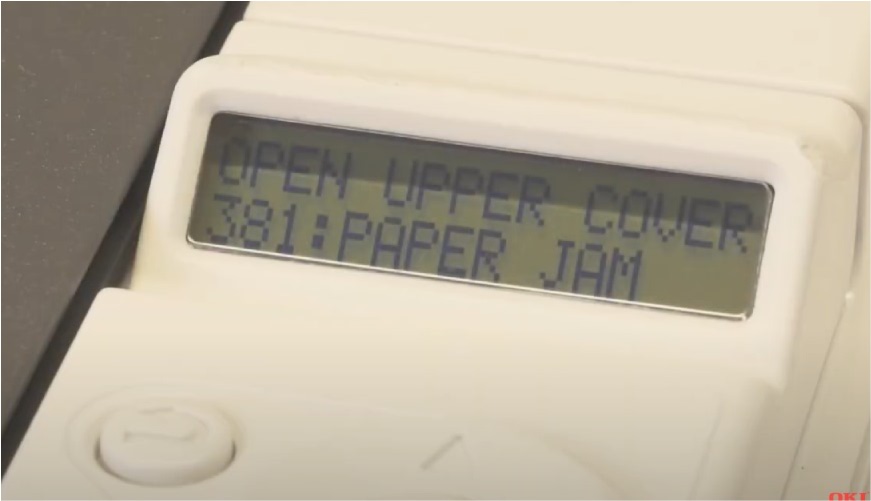
B432 Printer Error Codes
Before you start troubleshooting B432 Media jams, give your printer time to cool down and take care handling its parts. Instructions that follow assume you are directly facing the front of the machine.
Feed Jams
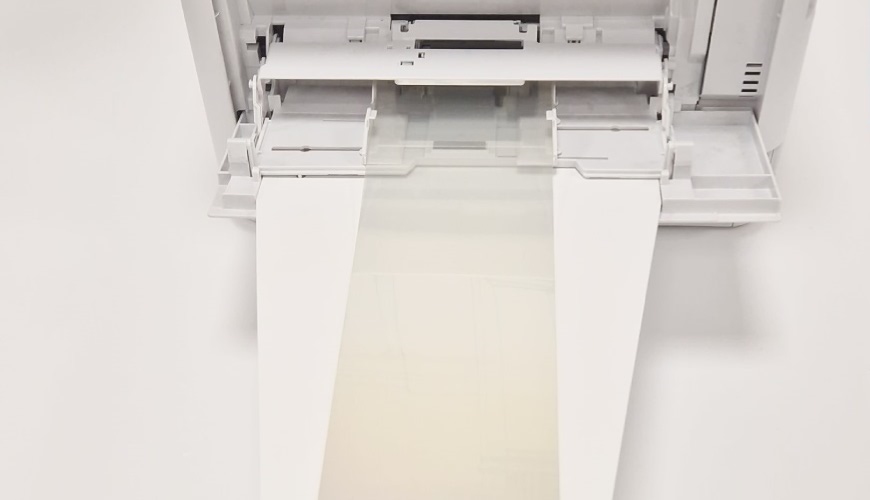
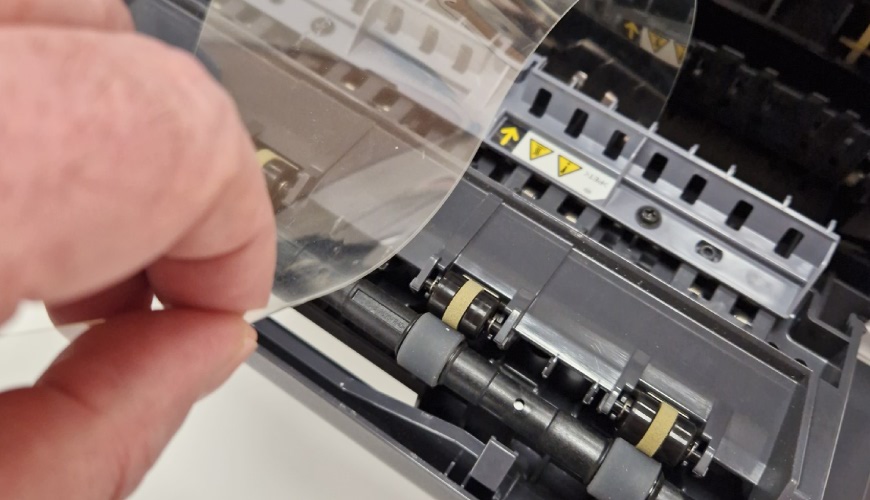
Feed jams are a result in your plate media not pulling through the multipurpose tray properly. If you’re lucky, all you need to do is pull it towards you and out of the rollers. Although on occasion you may have to clear an internal MP Tray jam.
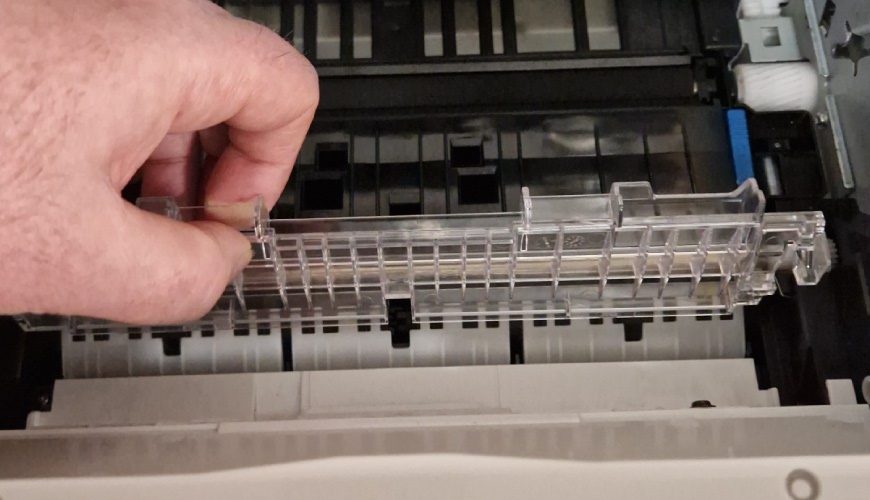
To clear internal multipurpose tray jams you raise the top cover and then remove the Drum Unit. To reach the media you will need to lift the Resist Guide up, before pulling the jam clear. To avoid feed issues, stack & butt your plate media carefully.
Output Jams – External
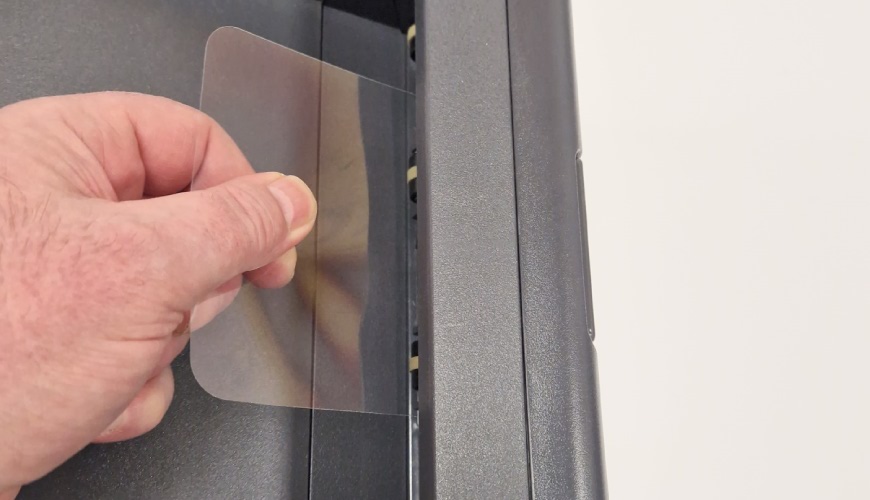
Most jams are plate media not clearing the top or rear output tray’s properly, after creasing or sticking to rollers. Often the jam can be cleared by gently pulling the media free. Otherwise you will need to open the printers top or rear covers to access the jam.
Inside Output Jams
Both output trays are sent media via the rear fuser & duplex mechanism. Jams occur either on exit or earlier on the media’s path, the section below deals with those Drum & Belt Unit jams.
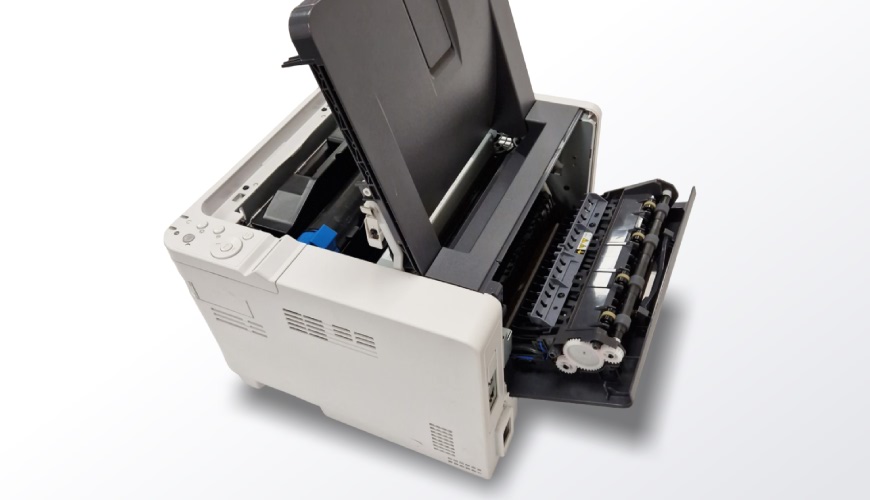
To access jammed media stuck in the top and rear outputs you will need to open up the top and rear covers. First press the the top button and lift up the top cover. For the rear cover, you need to lift up its handle to pull down the cover.
Clear Output Jam
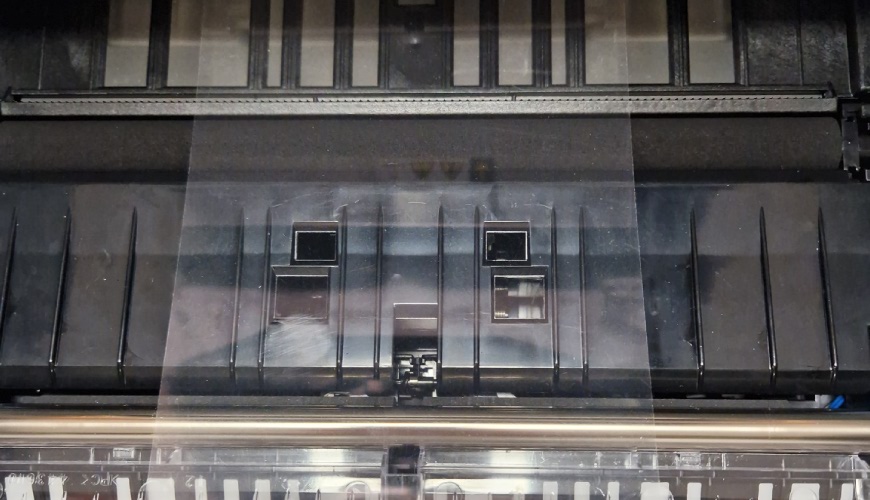
Opening up the output covers should reveal the jam stuck in the roller mechanism. When clearing it, pull the media towards the printers innards gently to avoid damaging the rollers.
Drum & Belt Jams – Internal
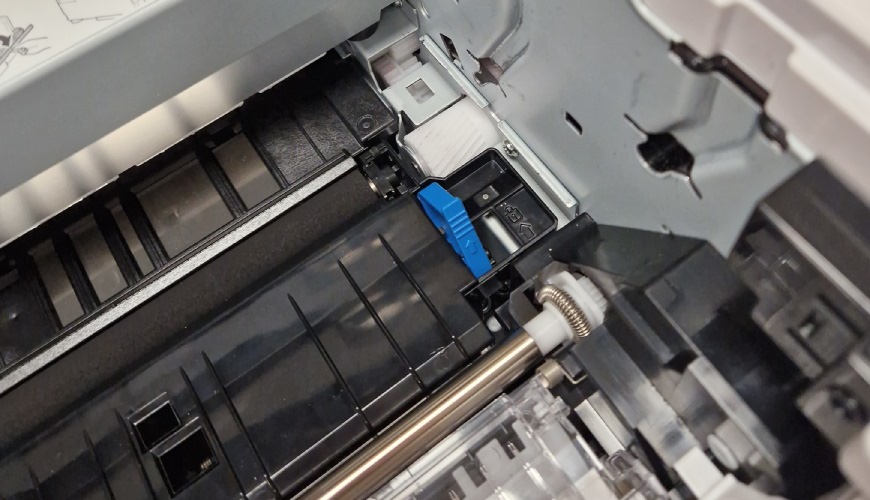
Internal jams occur around the Drum or the Transcription Belt Units, usually because they have creased or got stuck. To clear these internal jams you will need to lift the top cover and take out the Drum or Belt. The Belt unit can be found under the Drum and is locked into place using 2 blue handles.
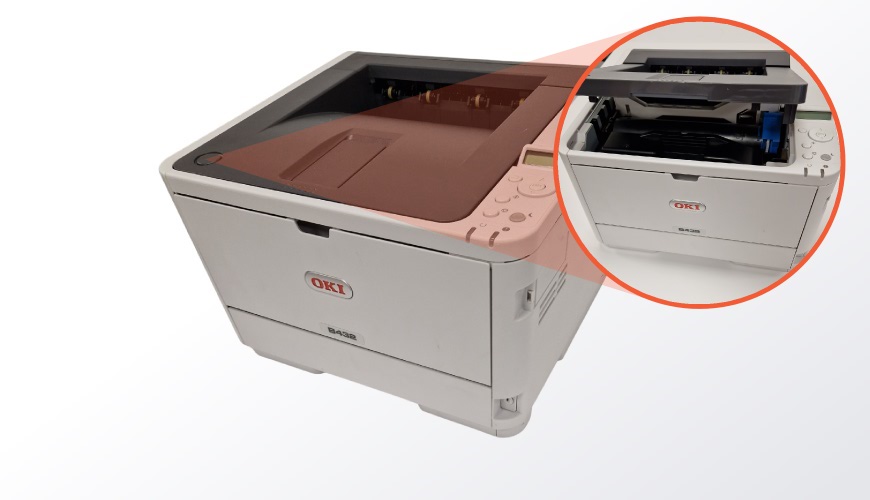
Open the B432 Top Cover using the Button
Image Drum Jams
For Drum or Belt Jams you will need to take out the Toner & Drum Unit first. To remove the Drum Unit, simply take hold of its top handle and gently pull it up towards you, as shown in the image below.
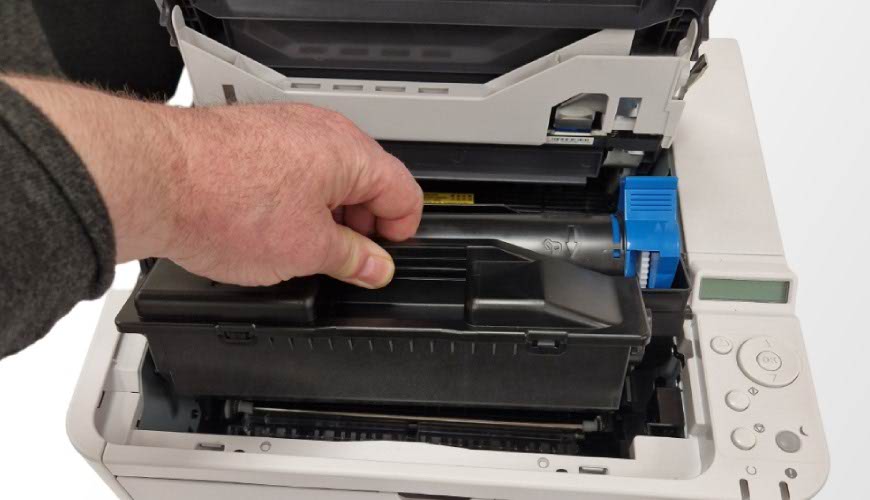
Take the Drum Unit out the B432 Printer
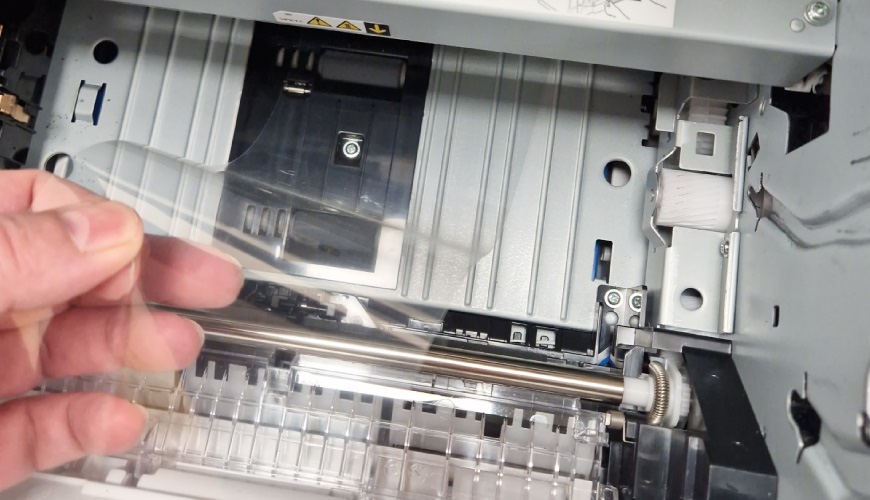
With the Drum Unit removed, the B432 media jam should be visible underneath where it was. Gently pull your component clear and replace the drum and close up the printer. The B432 will detect the jam has been removed and be ready to use.
Belt Unit Jams
Transcription Belt jams can be found underneath the unit itself. To remove the Belt Unit you will need to lift up the two blue side handles, shown in the image below. Lifting the handles unlocks the unit allowing it to be removed, simply lift it towards and up out the printer.
With the Belt removed, the jammed plate media should be visible. Gently pull the plate media clear and replace the Belt unit. Push the blue handles down to lock it into place. Now replace the Drum unit drum and close up the printer. The B432 will detect the jam has been removed and be ready to use.
Need Help?
We hope this B432 Media Jams article was useful and helped you resume printing For more detailed instructions, try your printers onscreen help. Or take a look or the OKI B432 User Guide.

