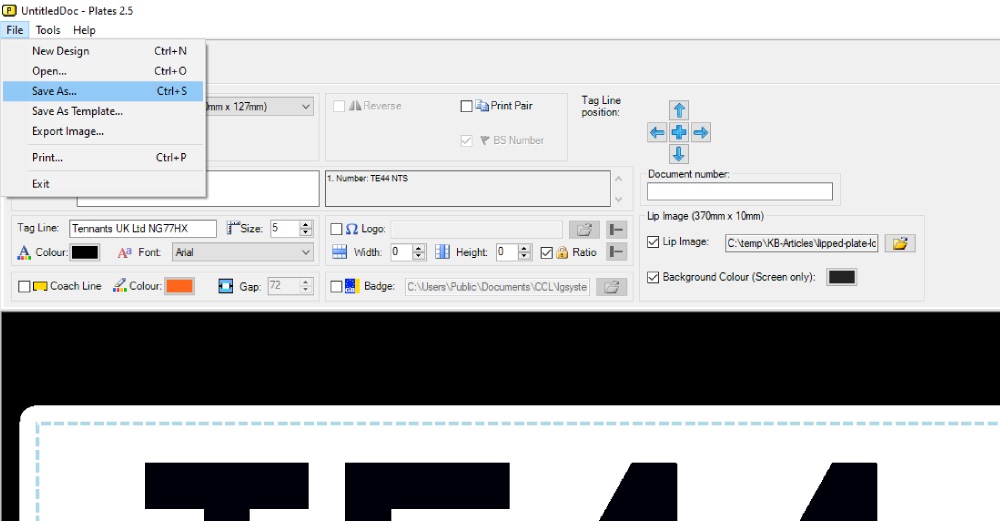
When using our LG Plates software to produce number plates you may wish to Make a Template to speed up your production process. This knowledge base article provides a simple guide on how to do this. So when you wish to make a number plate, all you do is open your template and add a registration number. Your supplier bottom line or logo will already be set up.
Plates Builder – Make a Template
To make a template for your number plates you’ll need to go through all the steps of making a number plate using the Plates Builder. But without entering a registration number or any customer RNPS information. Then save it for use whenever you need it.
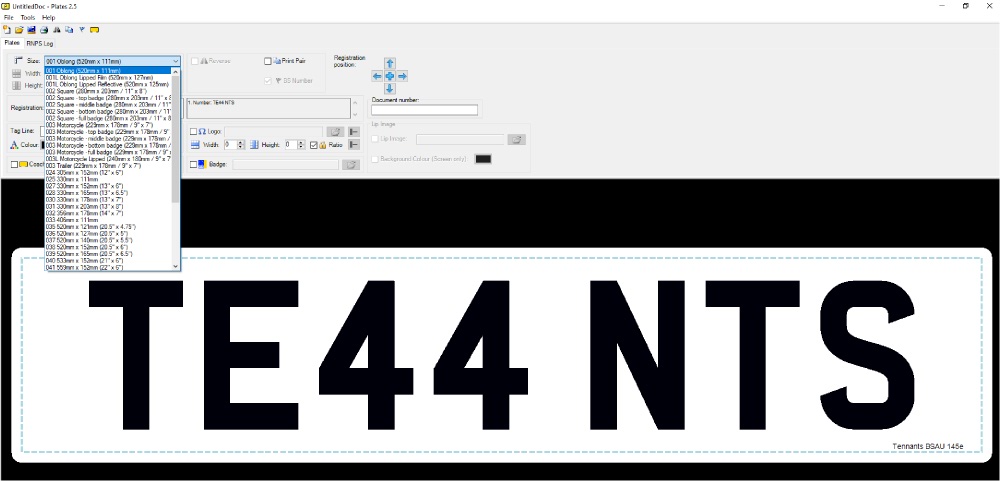
Choose Plate Size
Start your template with the Plate Size. We recommend you use standard oblong, because this is the most common plate size. Simply click the drop down, then cycle down the list until you see the size you’re after and then select it. This will load the layout settings for that plate size.
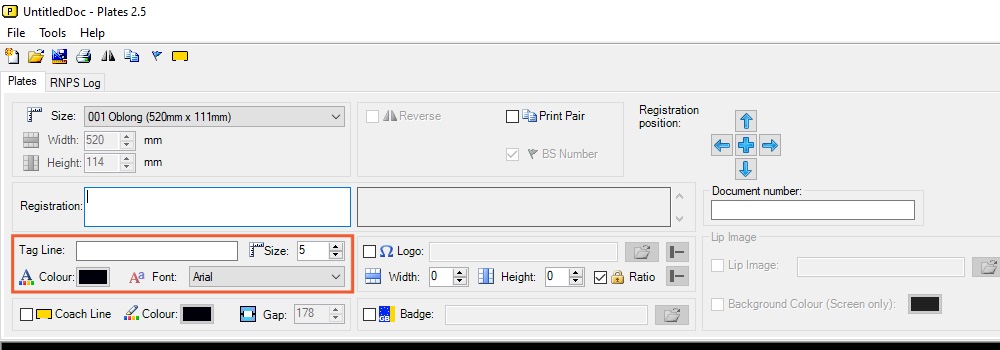
Insert Tag Line Text
Now sort your bottom tag line, which can ether be an image or Tag Line Text. To use text enter your company name into the Tag Line text field box along with the postcode. Select the font type and size you want to use. Along with a colour for the tag line, your printer permitting. Why not match it to your company branding?
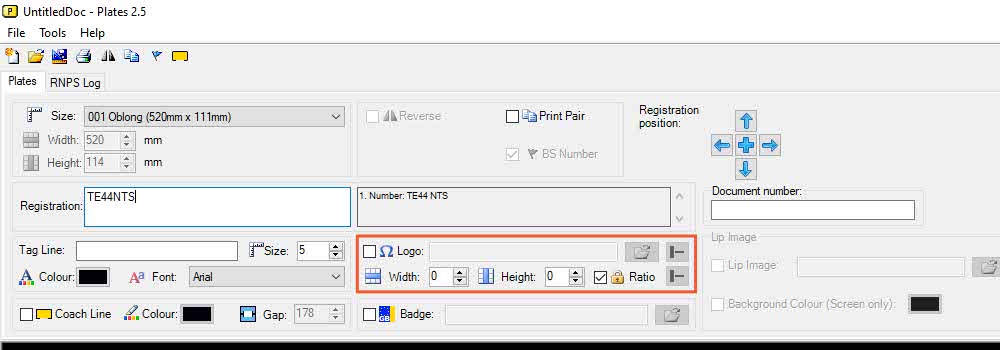
Or a Supplier Image
Or instead of tag line text you could use an image for your Bottom Line. This option allows you to use your company branding, as long as your name can easily seen within the image. Do not forget the Supplier Identifier has to also show your DVLA registered postcode and name. Tweak its size and alignment as you require.
This covers the legally required elements, all that’s left is the extra plate options.
Add a Coach Line
Next up is the Coach Line, one of the extra plate options, used to customise a design. To insert a Coach Line, simply select the tick box. Then tweak its colour and change the centre gap to accommodate the bottom line you’ve picked.
Set up a Side Badge
Another optional extra to include on your template is a Side Badge. So select the Tick Box and then click the Folder icon. Now browse to and select a Side Badge image, click the open button to insert it into the design.
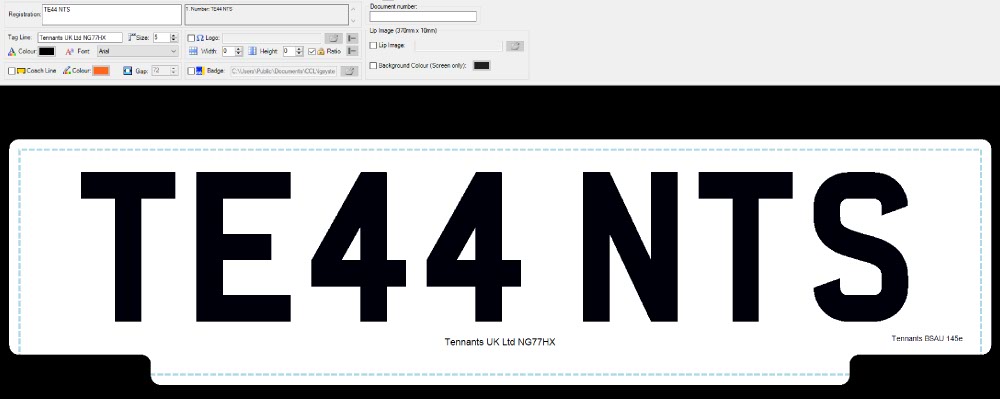
Is it a Lipped Plate?
Finally we come to Lip Images, another optional feature. Lipped plates are an easy way to market your brand using the number plates you supply. But you’ll need to be using specific pre-printed components. To make a Lipped Plate you will have to select a compatible plate size and a lip image. This article Lipped Number Plates, shows how to use and set them up correctly.
Save Your Template
Finally once you’re happy with the design save the template. Click File on the menu and then select the Save as command. An explorer window is opened for you to browse to a folder or to create a new folder to store your templates in. Simply click the Save button when ready.
If you have the time, it’s recommended that you create and save templates for all the main plate sizes.

