Clean CLS621 Print Head
This knowledge base article shows you how to properly clean CLS621 print head if you have issues with your prints. We recommend a regular wipe, when you change the ribbon or media roll for example. Always ensure your printer is turned off before carrying out any maintenance. To reduce cross contamination, cover the area below the print unit with a clean cloth or sheet of paper.
Dirt, grease and used ink can stick to the print-head and effect the quality of your number plates. At least this build up is easy to wipe off, but first you have to get to it. And this means raising up the print unit and taking the ribbon off it. Only then will you be able to access all of the print head.
Video Guide – Clean CLS621 Print Head
 Clean CLS621 Print Head – YouTube Popup
Lift Print Unit & Remove Ribbon
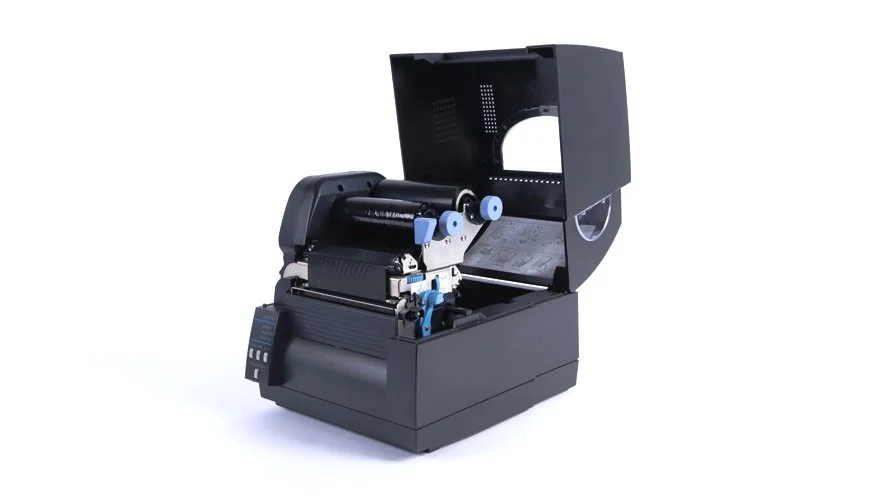
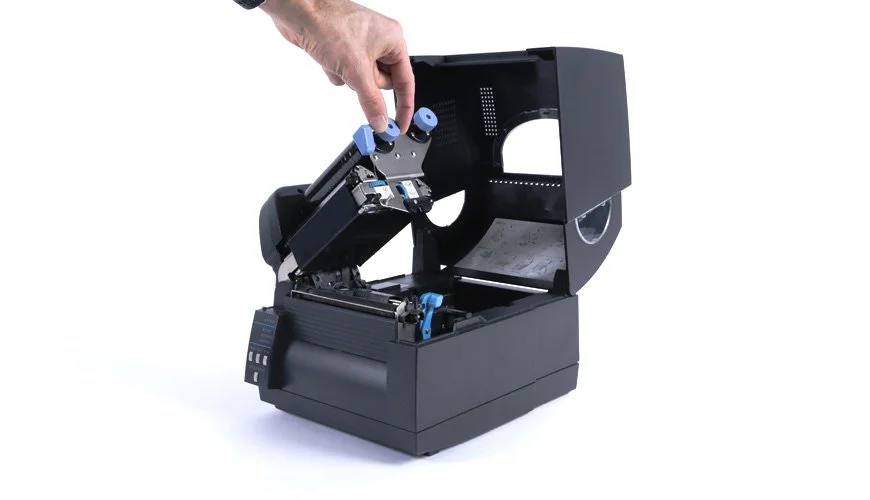
First, ensure the printers power is turned off, then open up the top cover. The print unit containing the ribbon and winding core holders will need to be raised up. Release the print unit by pushing the blue headed lever and then lift it up. Next remove the winding core and the ribbon out of their drive slots to access the print head. Simply lift the ends with blue knobs up out their cradles and then pull the other ends off the notches. Place the ribbon aside for refitting later. Finally remove any plate from your printer and cover-up before cleaning.
Clean CLS621 Print Head
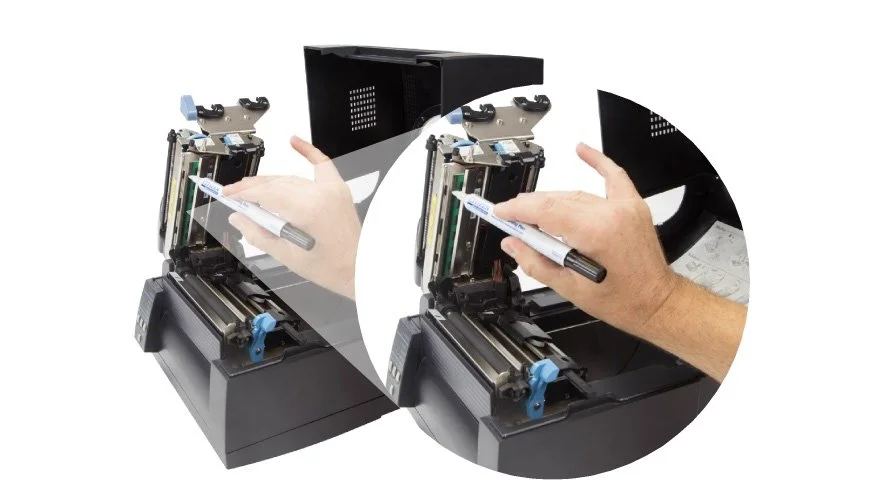
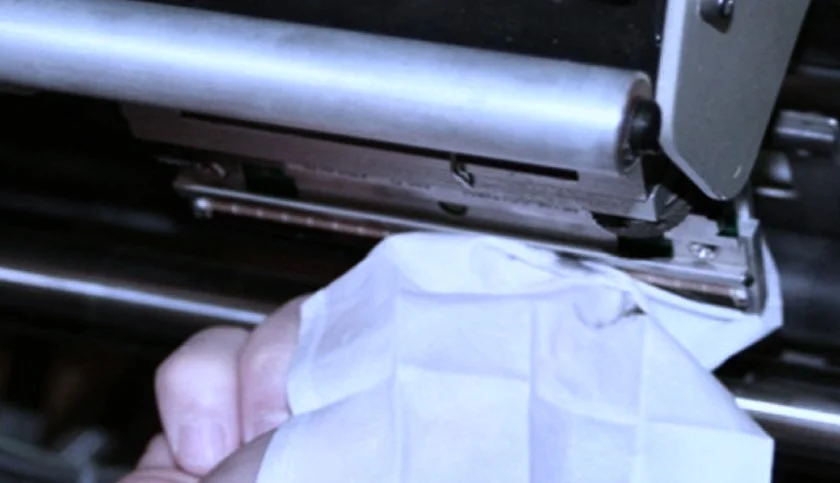
The main print head area can be found on the bottom of the print unit. On the CLS621 it’s the green circuit-board with black squares. First, wipe off any foreign matter from the print head with a alcohol swab by softly wiping from one side to the other. Next run your cleaning pen along the black strip at the front of the print head, as shown in the image above. This process should loosen and lift any contamination from the print head. Now use another wipe and run it across the other metal surfaces to remove any other build-up.
Clean Feed Path & Main Surfaces
After the printhead, move on to the front platen, roller and the media guides next. Wipe down the metal plate and you should rotate the feed roller to give it a good clean. Lift up the sensor arm and gently rub it down all over. Finish off by cleaning any surfaces that come into contact with your plate media, like your feed tray. Check your media tray is seated properly after cleaning.
Refit Ribbon & Print Unit
Once you’ve happy it’s clean, remove any protective cover you may have used. Refit the ribbon into the print unit, and adjust the blue knobs to eliminate wrinkles. Lower the print unit and push the blue knob to lock it into place. Power up the printer and push the feed key on the control panel to tighten up the ribbon. Now you can load up your reflective and close-up your printer for production.
Need Help?
This is a quick article on how to Clean CLS621 Print Head, refer to your user guide for more details. Or for further assistance, contact our tech support & customer service team for help. For ribbons, supplies or plate media for your printer, try our online NP-Shop – trade account required.
Note: Don’t forget to check the media-guide and alignment controls before starting a production run.


